
Most Global Entry interviews are a brief identity check. The officer's job is to confirm you are who your application says you are and that your biometrics match your file. That's it.
Here's your pre-interview checklist:
- Bring your valid passport (and a second passport if you have dual citizenship).
- Print or screenshot your conditional approval notice with your PASSID visible.
- Bring a secondary photo ID, like your driver's license.
- Carry proof of residency if your license address is outdated.
- Arrive 10 to 15 minutes early to account for check-in.
Interviews are usually short. Consumer guides on the process report most run under 15 minutes, and many applicants walk out approved quickly.
Key Takeaways
Global Entry approval depends less on a polished interview and more on accurate, consistent documentation matched to honest, concise answers.
| Point | Details |
|---|---|
| Bring originals only | Pack your passport, PASSID or conditional approval notice, and a secondary photo ID. |
| Watch the 730-day clock | Complete your interview within 730 days of conditional approval or your application is canceled. |
| Use Enrollment on Arrival/Departure | Skip enrollment center wait times by finishing your interview at a participating airport. |
| Disclose, don't dodge | Officers treat a candid explanation of a past issue far better than an inconsistency they catch on their own. |
| Get passport help early | Passportcenter offers free guides and expedited courier referrals for travelers whose passports need attention before their interview. |
Table of Contents
- Global Entry Interview Tips: What the Officer Is Actually Checking
- What Questions Come Up in a Global Entry Interview?
- What to Bring to Your Global Entry Interview
- How to Get a Faster Global Entry Interview
- What Happens During the Global Entry Interview, Step by Step
- What Happens After You're Approved for Global Entry
- Common Mistakes That Delay or Deny Global Entry Approval
- Free Printable Checklist and Sample Answers From Passportcenter
- What Most Applicants Get Wrong About the Interview
- Need Help With Your Passport Before Your Interview?
- Sources
Global Entry Interview Tips: What the Officer Is Actually Checking
The interview is not a debate or an interrogation. It's a verification step. CBP already vetted your application before you got the green light to schedule, so the officer's real job at this stage is confirming your identity and capturing biometrics that will link to your Known Traveler Number.
The official sequence looks like this:
- Identity verification against your passport and second ID.
- A review of the answers on your original application.
- Fingerprint scan.
- Photograph capture.
- A short question-and-answer exchange, usually five to ten questions.
Expect the whole process to run anywhere from about 5 to 30 minutes depending on how straightforward your file is, though many interviews wrap up in well under 15 minutes. If nothing in your file raises a flag, approval often happens before you leave the building.
Officers aren't grading your charisma. They're looking for consistency between what you say and what's already on paper, plus general candor about your travel and background. A calm, direct answer beats a rehearsed speech every time.
Pro Tip: Answer the question you're asked, not the question you think they're building toward. Volunteering extra detail nobody requested is one of the fastest ways to turn a five-minute check-in into a longer conversation.
What Questions Come Up in a Global Entry Interview?
These are the most frequently asked questions during Global Entry interviews, and officers expect short, consistent replies that match your application, not a narrative.
-
"Can you confirm your current address and employer?" Sample answer: "Yes, I live at [address] and I work at [company] as a [title]." The officer is checking that your file matches your verbal answer word for word.
-
"Why are you applying for Global Entry?" Sample answer: "I travel internationally a few times a year for work and want to skip the customs line." This confirms your stated purpose lines up with your travel history.
-
"Where have you traveled in the last five years?" Sample answer: "Mostly Canada, Mexico, and the UK for work, plus a couple of personal trips to Japan." Officers are gauging whether your travel pattern is plausible and consistent with your application, so pull your itineraries or passport stamps together beforehand rather than trying to recall dates cold.
-
"Have you ever been arrested or convicted of a crime?" Sample answer: "No" if true, or a brief factual statement if you disclosed something on your application. This is a direct integrity check, and any mismatch with your file is a serious red flag.
-
"Have you ever violated customs, immigration, or agriculture regulations?" Sample answer: "No, never." Same logic as above. If you disclosed a past issue, restate it plainly rather than minimizing it.
-
"Can you confirm your passport number and issue date?" Sample answer: read directly from your passport if asked. This is a simple accuracy check, not a memory test.
-
"Do you hold any other passports or citizenships?" Sample answer: "Yes, I also hold a [country] passport," and have it with you. Officers want every travel document you use disclosed and matched to your file.
Don't over-explain. If nothing has changed since you applied, a one-sentence confirmation is enough. If something has changed, like a new job or a new address, say so directly instead of waiting to be caught.
Pro Tip: If you have a past arrest, a customs citation, or anything uncomfortable in your history, the worst move is dodging the question. Officers already have access to your record. A brief, factual acknowledgment reads as trustworthy; a vague or evasive answer reads as a warning sign, even when the underlying issue was minor.
What to Bring to Your Global Entry Interview
Bring originals of everything your TTP dashboard lists. Photocopies generally don't work unless the instructions say otherwise, and showing up without an original is one of the fastest ways to get turned away and rebooked.
Your checklist should include:
- A valid passport for every citizenship you hold.
- Your conditional approval notice or a printed record of your PASSID.
- A secondary photo ID, such as a driver's license.
- Proof of residency if the address on your license is out of date, such as a recent utility bill or lease.
- Your permanent resident card, if you're a lawful permanent resident rather than a U.S. citizen.
CBP's own application guidance confirms the baseline requirement: a valid passport plus a second form of ID, with permanent residents required to present their green card.
If your license shows an old address, bring a mortgage statement, lease, or recent utility bill. Address mismatches are a common, easily avoidable reason interviews get delayed.
If your address has changed since you applied, update your TTP profile before you go. An officer noticing a discrepancy you already knew about looks worse than the discrepancy itself.
How to Get a Faster Global Entry Interview
Rescheduling smartly and using arrival-based enrollment are the two fastest ways to finish this process, often faster than hunting for an enrollment center slot near home.
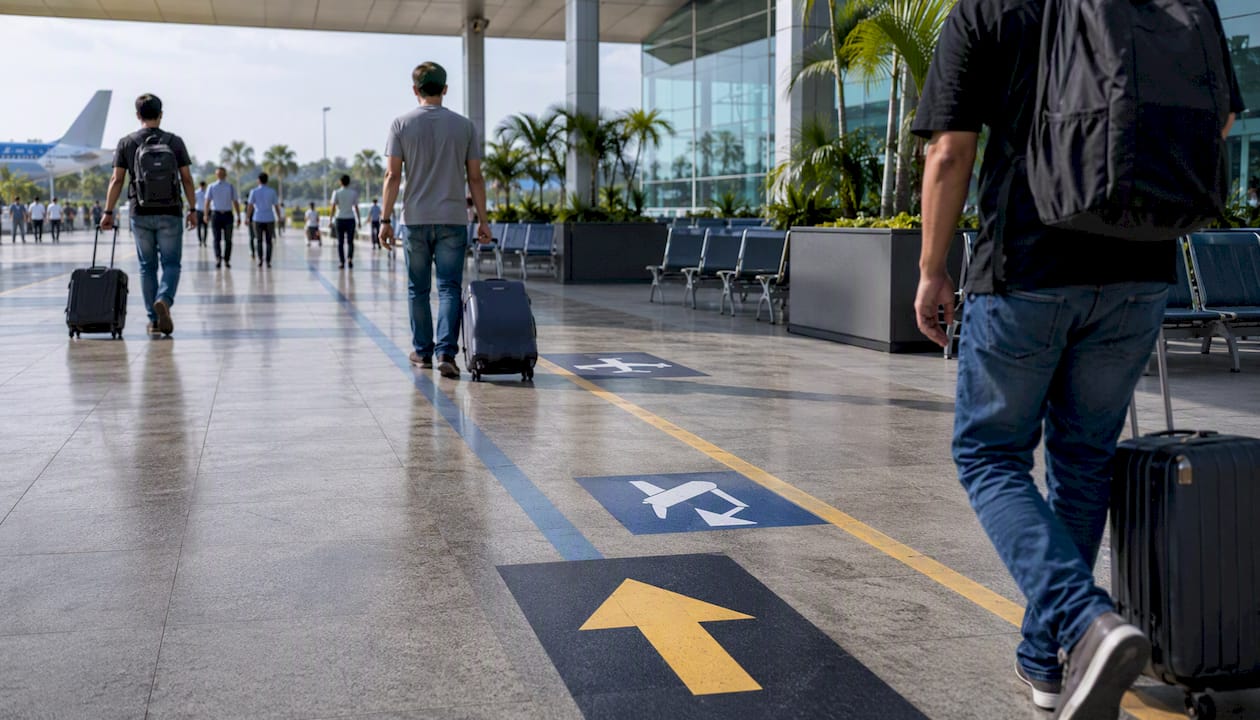
Enrollment on Arrival (EoA) lets you complete your interview when you land at a participating U.S. or Canadian airport, no separate appointment required. It's built for people who already have an international trip on the calendar. If you're conditionally approved and flying home from abroad soon, this can save weeks of waiting for a center appointment to open up.
Enrollment on Departure (EoD) works the opposite way: you complete the interview before departing from a select U.S. airport, at a designated EoD area with clear signage.
One rule matters more than any scheduling trick: you must complete your interview within 730 days of conditional approval, or your application gets canceled outright and you start over. Mark that date somewhere you'll actually see it.
A few tactical notes:
- Check availability at more than one enrollment center. Wait times vary widely by location.
- If an international trip is coming up, check the EoA airport list before booking a separate appointment.
- If you can't make a scheduled slot, reschedule through the TTP Dashboard rather than canceling. Cancellations can complicate your file.
- Keep your PASSID written down or screenshotted; you'll need it at check-in regardless of which path you use.
Official EoA and EoD airport lists are maintained on CBP's site and change periodically, so confirm your airport is on the current list before you count on it.
What Happens During the Global Entry Interview, Step by Step
Here's the actual sequence once you're standing in line, whether that's at an enrollment center or an EoA/EoD lane.
- Check-in. You confirm your appointment or, at EoA/EoD, your name and PASSID with staff.
- Document verification. The officer reviews your passport, second ID, and any supporting paperwork like proof of residency.
- Q&A. A short set of questions confirming your address, employment, travel history, and any legal disclosures.
- Fingerprint scan. Standard biometric capture, quick and routine.
- Photograph. Taken on the spot for your Global Entry file.
- Status communication. The officer tells you the outcome before you leave.
Three outcomes are possible. Most applicants get approved on the spot. Some get deferred, meaning the officer needs additional documentation or a supervisor review before finalizing anything. A smaller number get denied, usually with a stated reason tied to inconsistency, an undisclosed issue, or an unresolved eligibility question.
Small habits help here: arrive 10 to 15 minutes early, keep your answers short, hand documents over in the order requested rather than as a stack, and confirm the officer has your correct PASSID before you walk out.
What Happens After You're Approved for Global Entry
If you're approved, your Known Traveler Number is active the moment you leave the building. You don't wait for the physical card to use Global Entry kiosks or TSA PreCheck.
- Add your KTN to airline reservations and your TSA PreCheck profile right away.
- The physical Global Entry card typically arrives by mail within a few weeks.
- Check your membership status anytime through the TTP Dashboard.
- If you're deferred, follow the specific instructions the officer gives you, usually additional paperwork or a follow-up appointment.
- If you hold more than one passport, add every valid one to your TTP profile now that you're approved.
Common Mistakes That Delay or Deny Global Entry Approval
Most denials and delays trace back to inconsistency or omission, not a single past mistake. A disclosed issue from years ago rarely sinks an application on its own; an undisclosed one almost always causes problems.
Watch for these red flags:
- Mismatched address or employer information. Fix it by updating your TTP profile before the interview, not during it.
- Undisclosed arrests or customs violations. Fix it by amending your application ahead of time if you missed something.
- Missing documents, like an outdated proof of residency. Fix it by checking the exact list on your TTP dashboard the night before.
- Over-explaining or evasive answers. Fix it by answering only what's asked, plainly.
- Incorrect passport details, like a typo in your passport number. Fix it by double-checking your application against your actual passport before submitting.
Pro Tip: When in doubt, disclose. Officers consistently treat a candid explanation of a past issue better than a discrepancy they catch on their own. The interview functions primarily as an integrity check, and the fastest way to fail it is to look like you're hiding something small.
Free Printable Checklist and Sample Answers From Passportcenter
Passportcenter's downloadable checklist covers your full document list, sample questions with answers, and the exact interview flow described above, all on one printable page you can bring with you.
A few sample answers worth memorizing in your own words:
- "I'm applying because I travel for work several times a year and want faster re-entry."
- "My address is [current address], and yes, that matches what's on my license."
- "No, I've never been arrested or cited for a customs violation."
- "I hold a U.S. passport and a [country] passport, both of which I have with me today."
Print the checklist, place your documents in the order listed, and rehearse your answers aloud once or twice the night before. Saying the words out loud, not just reading them, is what keeps you from freezing up when the officer asks in person.
What Most Applicants Get Wrong About the Interview
What stands out most across Global Entry interviews isn't nervousness. It's applicants who treat the interview like a test they need to study for, when it's really just a consistency check against paperwork they already filed. The people who struggle are usually the ones second-guessing their own answers or padding a simple "no" with unnecessary context.
The single best habit: keep one folder with every original document and a printed copy of your PASSID, and don't touch that folder again until you're standing in front of the officer. Confidence in this interview comes from organization, not eloquence.
Need Help With Your Passport Before Your Interview?
Passportcenter is not a Global Entry enrollment service. It's a free resource for the passport side of your trip, the part that has to be squared away before any Global Entry appointment matters.
If your passport is expiring soon, has a name that doesn't match your other documents, or needs expedited renewal before your interview date, Passportcenter's guides walk you through the exact steps, and connect you with vetted expedited courier partners when time is tight. This is adjacent help, not a substitute for the CBP process itself, but it solves the problem that actually derails a lot of applicants: showing up with an expired or mismatched passport. Visit Passportcenter to check your renewal timeline or get matched with an expedited courier service before your Global Entry appointment.
Sources
- FAQ - Trusted Traveler Programs
- How to apply — Global Entry
- Trusted Traveler Programs (TTP) portal
- Guide to Global Entry Appointment & Interview - NerdWallet