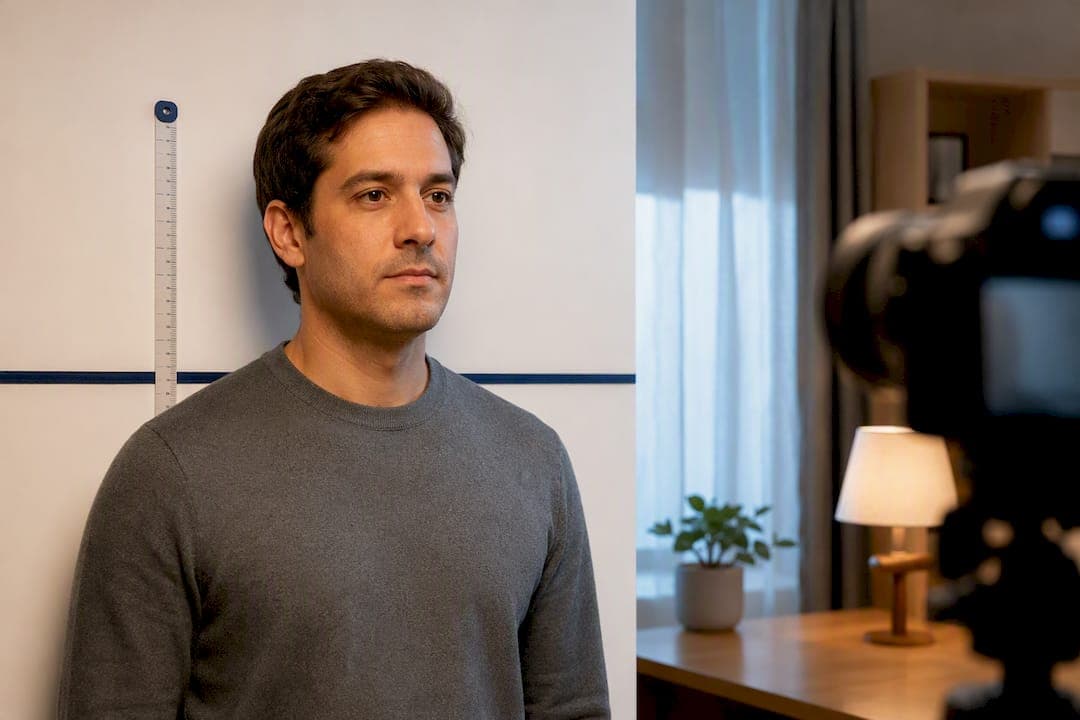
Yes, you can take a passport photo at home, and it will be accepted, but only if the final image meets the Department of State's specifications exactly. The single rule that trips up most applicants: your printed or digital photo must hit precise size, background, and expression standards with zero editing. The safest way to get there isn't a stretched-arm selfie. It's a helper with a steady hand, or a phone on a tripod with a timer.
TL;DR:
- Most passport photo rejections are caused by shadows, incorrect head size, or filters, which can be fixed with proper lighting and careful framing.
- Taking a photo with a neutral expression on a plain white background, using a tripod or timed shot, improves the chances of meeting the official specifications.
- Digital files for online renewal must be in accepted formats, unedited, and properly cropped, with a file size between 54 KB and 10 MB.
- Printed photos require high-resolution, photo-quality paper and precise measurement to ensure the head height falls within the 1 to 1 3/8 inch range.
- For infants or those with difficulty capturing compliant images, professional services or photo counters can prevent costly delays and rejections.
Table of Contents
- Official Passport Photo Requirements You Can't Skip
- How to Take a Passport Photo at Home Step by Step
- What Are the Digital Photo Requirements for Online Upload?
- How Do You Print a Passport Photo That Won't Get Rejected?
- How Do You Photograph a Baby or Toddler for a Passport?
- Why Do Passport Photos Get Rejected, and How Do You Fix It?
- Should You Shoot at Home or Go to a Pro?
- Our Quick Pre-Submission Checklist
- Get Expedited Help When a Photo Deadline Won't Wait
- Sources
Official Passport Photo Requirements You Can't Skip
Every U.S. passport photo, whether snapped in a professional studio or your living room, has to match the same checklist. There's no "home photo" leniency built into the system. The scanners and reviewers at the National Passport Center don't know or care where the photo was taken. They only check whether it fits the spec sheet.
Here's what that spec sheet actually says:
- Size: a 2×2 inch square photo when printed, with the head sized appropriately inside the frame.
- Head height: the distance from the bottom of the chin to the top of the head must be within the size range specified by the official guidelines, corresponding to a significant portion of the frame.
- Background: Plain white or off-white, no texture, no furniture edges, no shadows.
- Expression: Neutral, both eyes open, mouth closed. Skip the polite closed-mouth smile. Automated validators can flag even a slight cheek lift or squint as a non-neutral expression.
- Eyewear: No glasses, unless you have a signed doctor's note documenting a medical need.
- Recency: The photo must be taken within the last 6 months, reflecting your current appearance.
- Editing: Submit the original file. No filters, no retouching, no AI smoothing.
According to the State Department's official photo guidance, unacceptable photos are the single most common reason passport applications get put on hold. That's not a minor footnote. It means more people lose weeks over a bad photo than over a missing signature or an expired document.
One detail catches almost everyone off guard: head height is measured from the true crown of the skull to the chin, not from the hairline, and it excludes the volume of your hair. If you have a big bun or thick curls piled up, don't measure to the top of that. The technical measurement standard treats your actual skull as the reference point. A printed ruler template held against your photo is the easiest way to check this before you submit anything.
If you're renewing online, there's a second layer of rules for the digital file itself, covered in detail below. Think of the physical specs as the foundation and the digital specs as the delivery format.
How to Take a Passport Photo at Home Step by Step
You don't need studio lighting or a $500 camera. A recent smartphone and a blank wall will get you there, provided you follow the sequence in order.
- Pick your background first. Find a plain white or off-white wall with nothing hanging on it. Avoid cream, beige, or anything with a visible texture like brick or shiplap.
- Stand 2 to 3 feet away from that wall. This distance matters more than most people realize. Standing close to the background is what causes the shadow that appears behind your head and shoulders, and shadow presence is one of the most common non-obvious rejection triggers reviewers flag.
- Position the camera at face height, not angled up from a table or down from above. A tilted camera angle distorts your proportions and throws off the head-height ratio.
- Hand the phone to someone else, or set up a tripod with a timer. This is not a suggestion you can skip if you want reliable results. Official guidance recommends having someone else take the photo specifically because arm's-length selfies introduce lens distortion that skews head size and framing.
- Light your face evenly from the front. A window you're facing, or two lamps at roughly equal angles, works better than overhead lighting, which carves shadows under your eyes and nose. Avoid strong light from one side.
- Center your head and shoulders in the frame, with no tilt. Look straight at the lens. Relax your face completely. No smiling, no eyebrow raise, no squinting.
- Take at least ten shots. Phones make this free. Take more than you think you need.
- Review each shot at full size before picking one. Zoom in and check for shadows, blinking, and stray hair across the face.
- Keep the original file untouched. Don't run it through a beauty filter or auto-enhance tool, even accidentally, if your phone applies one by default.
Pro Tip: Turn off your phone's "portrait mode" or any automatic background blur feature before you shoot. These modes are designed for artistic photos, not compliance photos, and they can soften edges around your head in ways that confuse biometric review software.
Once you've got a handful of clean shots, move to whichever path applies to you: printing a physical copy or preparing a digital file for online upload.
What Are the Digital Photo Requirements for Online Upload?
If you're renewing your passport online rather than mailing in prints, the Department of State applies a separate set of technical rules to the digital file itself, on top of the same size and background standards.
- Accepted formats: JPG, JPEG, PNG, HEIC, or HEIF.
- File size: within the accepted range defined by the official online application guidelines.
- No edits of any kind: No filters, no retouching, no AI-generated modifications. The upload guidance is explicit that you submit the original, unedited capture, and that you should have someone else take the photo rather than shoot a stretched-arm selfie.
Cropping is where people get nervous, worried that trimming an image counts as "editing." A conservative crop that simply adjusts the frame to center your head and meet the height ratio is fine. What's prohibited is anything that alters pixels, tone, sharpness, or blemishes. If your phone's photo app has a "smart crop" or "auto enhance" toggle, turn it off before you touch the image at all.
Before you upload, run through this quick check:
- Is the file one of the four accepted formats?
- Does it fall between 54 KB and 10 MB?
- Is the background plain white or off-white with no shadow?
- Is your head sized correctly, with no visible retouching?
Our passport photo size guide breaks down the exact pixel and ratio math if you want to double-check before uploading, and our renewal process guide walks through where this upload step fits into the broader online renewal flow.
How Do You Print a Passport Photo That Won't Get Rejected?
A mailed application still requires a physical 2×2 inch print, and home printers introduce their own failure points that a digital file never has to deal with.
- Use real photo paper, matte or glossy, from a printer capable of photo-quality output. Regular office paper or a home photocopy will not pass.
- Set your printer to its highest resolution setting. Low-resolution prints show visible dot patterns that biometric scanners are built to detect.
- Check the print at arm's length. If you see banding, streaking, or a dotted texture, that print is a rejection risk. Reprint it or take it to a lab instead.
- Measure the printed head height with a ruler. It needs to land between 1 and 1 3/8 inches. If it's off, adjust your crop and reprint rather than guessing.
- Inspect the physical copy for damage. Creases, fingerprints, and staples all disqualify an otherwise good photo.
If any of this feels like more precision than your home printer can reliably deliver, a drugstore or pharmacy photo counter print removes that variable entirely for a few dollars. Given that photo issues are the top cause of application holds, that's often money well spent, especially if you're on a deadline.
How Do You Photograph a Baby or Toddler for a Passport?
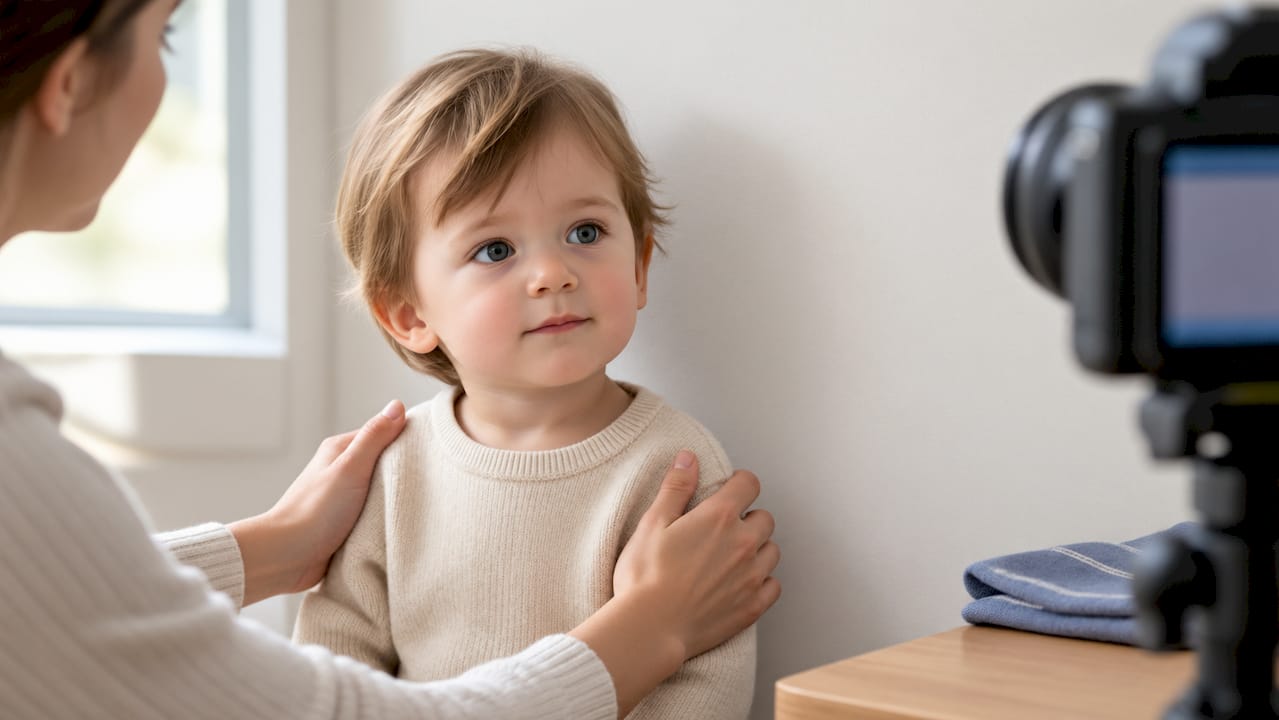
Infant and toddler passport photos follow the same core rules, but getting a compliant shot from someone who can't sit still or hold a neutral expression on command takes a different approach.
- Lay the baby on a plain white sheet or blanket on a flat, well-lit surface, like a changing table or the floor, with a helper positioned just out of frame for safety.
- Shoot from directly above, angling the camera straight down so the baby's face fills the frame without distortion.
- Use bright, even natural light near a window rather than a flash, which tends to wash out a baby's face or create harsh shadows.
- Both eyes need to be open, and no other person's hand or object can appear in the frame, including a hand supporting the head.
Pro Tip: If your first several shots all show closed eyes or motion blur, try timing the shoot right after a feeding or during a calm, alert stretch rather than fighting a tired or fussy baby. Patience beats a rushed session every time.
A small head tilt is more tolerable for infants than for adults, but if you've tried a dozen shots and nothing is landing, a photo counter or your pediatrician's office often has experience with this exact problem. Our infant passport photo guide covers age-specific positioning tricks in more depth.
Why Do Passport Photos Get Rejected, and How Do You Fix It?
Most rejections trace back to a handful of repeat offenders, and each one has a specific, fixable cause.
- Shadows on the face or background. Step at least 2 to 3 feet away from the wall and switch to soft, even front lighting instead of a single overhead source.
- Wrong head size or off-center framing. Recheck your camera distance and height, then remeasure the printed or cropped output against the 1 to 1 3/8 inch standard before resubmitting.
- Glasses, hats, or hair covering the face. Remove glasses and hats entirely unless you have documented medical necessity, and push hair away from the eyes and forehead.
- Detected digital edits or filters. Always submit the untouched original capture. Turn off any automatic beauty or smoothing feature your phone applies by default.
Our guide to common passport application mistakes covers the non-photo errors that cause similar delays, worth a read if this is your first time applying or renewing.
Should You Shoot at Home or Go to a Pro?
At-home photos cost nothing beyond your time, and for most healthy adults following the checklist above, that's a perfectly reasonable route. The tradeoff is technical risk. One overlooked shadow or a slightly off head-size ratio, and you're redoing the whole process, possibly after your application has already been delayed.
- At home: Free, flexible, works well if you follow every step precisely.
- Acceptance facility or retail photo counter: Costs somewhere in the range of $10 to $20 at most drugstores, and it removes nearly all the technical guesswork.
- When to skip home altogether: Infants and toddlers, anyone with mobility limitations that make positioning hard, or anyone who's already had a photo rejected once. A second rejection costs more time than the photo fee ever would.
Group leaders coordinating passports for a school trip or youth travel program face this same math multiplied across dozens of applicants, and group travel photo logistics planning ahead of time avoids a scramble before departure.
Our Quick Pre-Submission Checklist
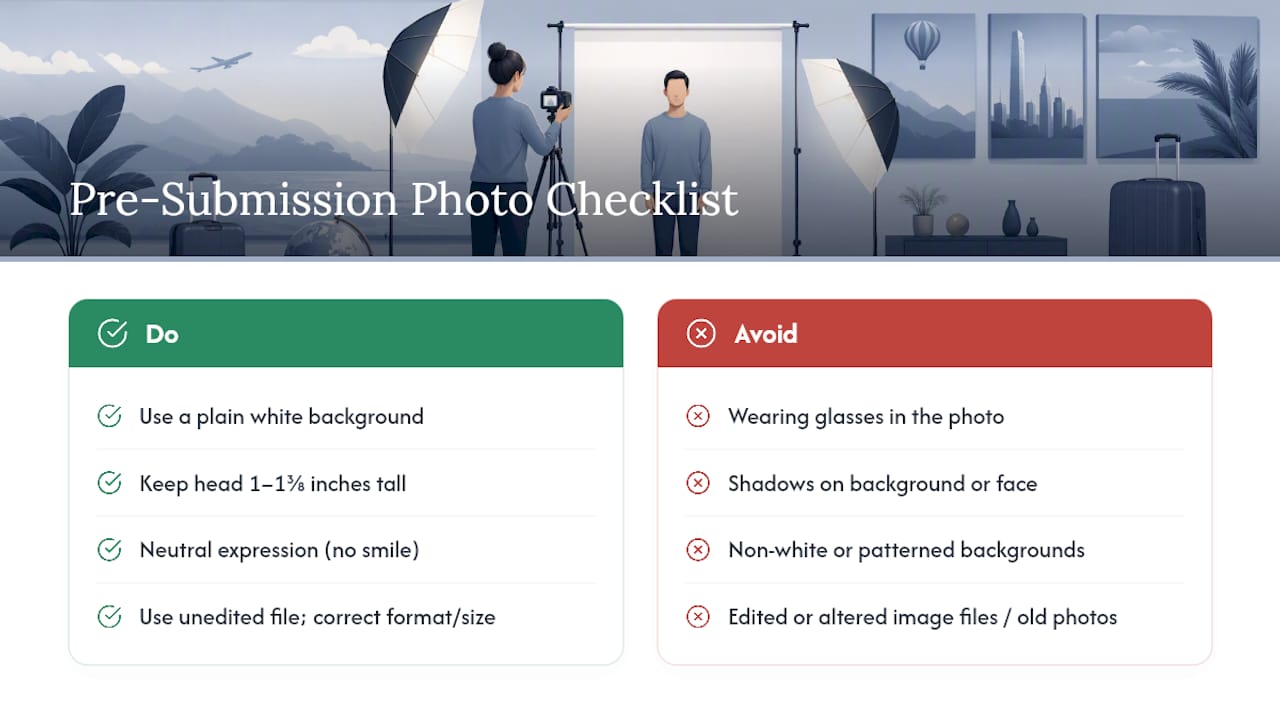
Before you send anything, run through this: plain white background, no shadows, head sized between 1 and 1 3/8 inches, neutral expression, no glasses, taken within 6 months, unedited file, correct format and size. The State Department's photo tool lets you verify framing and size against the exact standard before you submit.
This guide was built from those same official rules, because getting it right the first time is faster and cheaper than any workaround.
— David
Get Expedited Help When a Photo Deadline Won't Wait
This resource assists travelers when a passport photo mistake threatens a trip that's already booked. If you've read through the checklist above and you're still not confident in your setup, or you've already had one photo rejected and can't afford a second delay, that's exactly when free guidance stops being enough and a second opinion starts paying off.
The site connects users to vetted expedited passport courier and professional photo services when timing is tight, whether that's an urgent renewal before an international trip or a repeat rejection that needs to be resolved fast. Visit Passportcenter to check your renewal timeline and see which service fits your situation before your departure date gets any closer.